September 12, 2026 · 3 min read
MNQ Short Trade Breakdown: Liquidity Sweep + SMT + Order Block
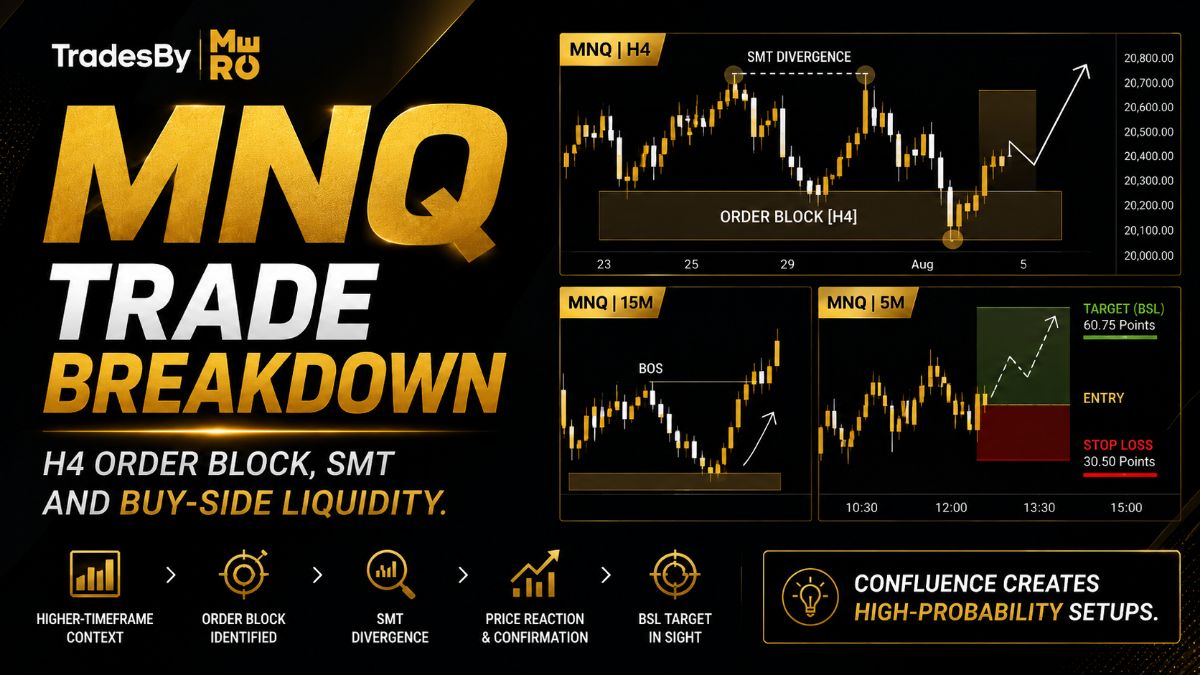
This setup is a good example of why I don't enter a trade simply because price reaches an Order Block.
The surrounding market context matters.
For this MNQ setup, I was watching the relationship between liquidity, SMT, and the identified Order Block before looking for execution.
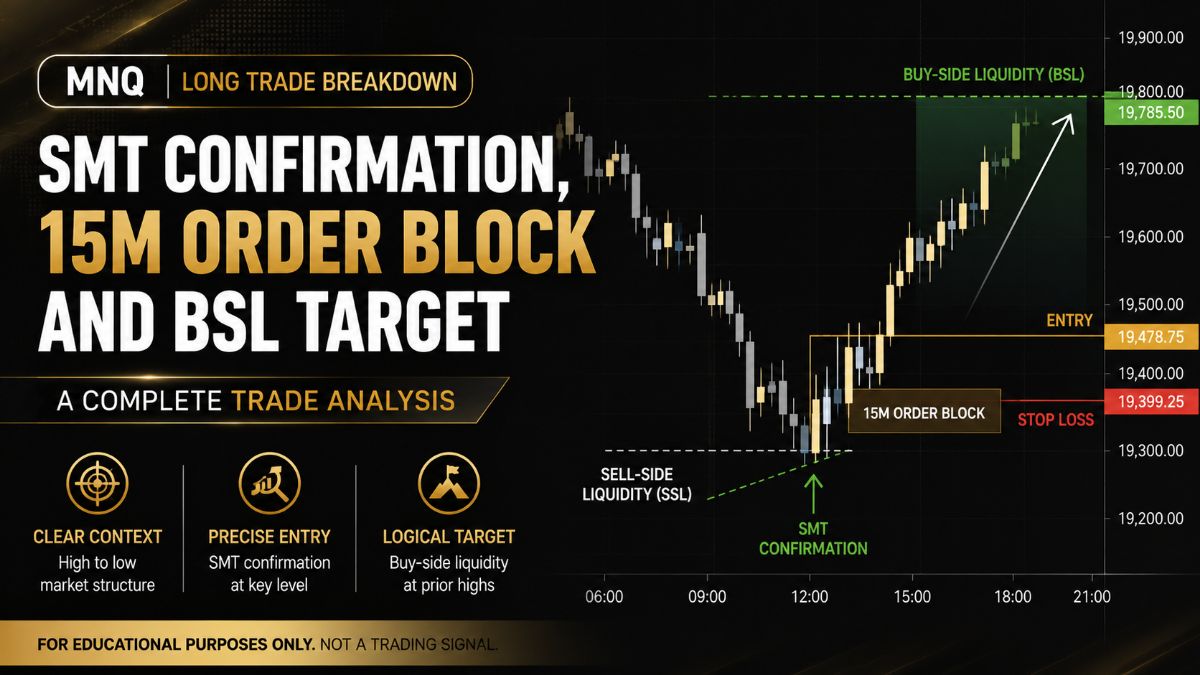
The initial chart showed price trading within a broader bearish environment.
Instead of immediately entering short, I wanted to see how price interacted with the important liquidity levels first.
The objective was to identify where liquidity could be taken and whether price would give a reaction afterward.
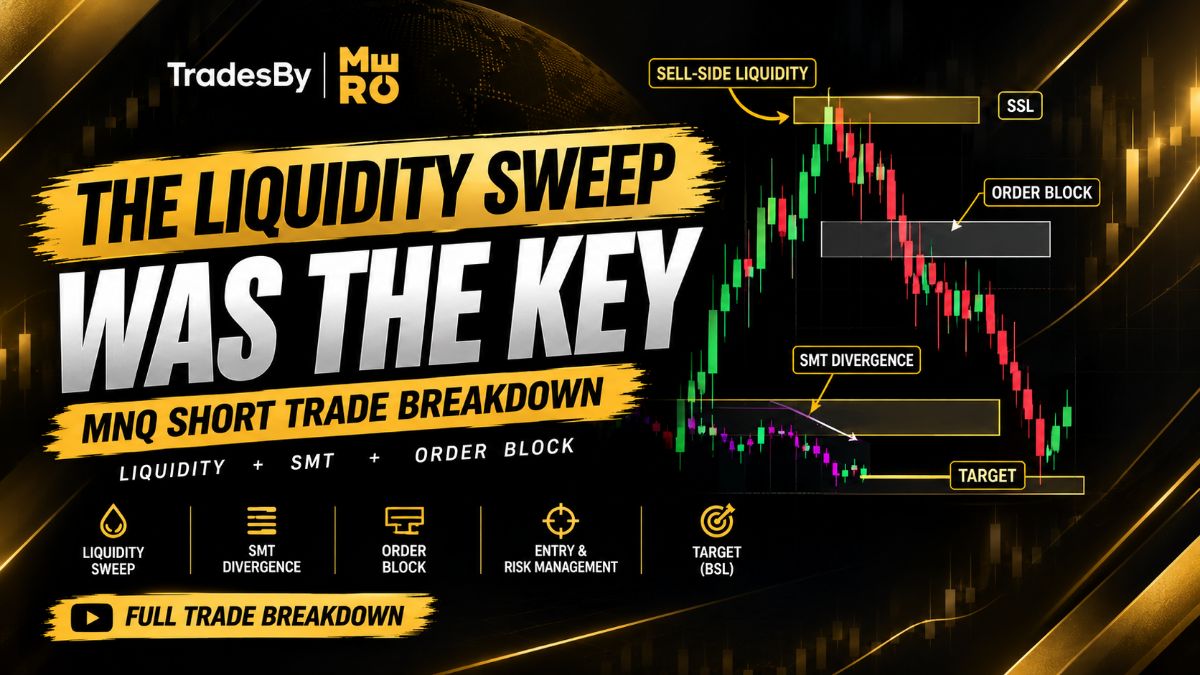
One of the important areas marked on the chart was Sell-Side Liquidity (SSL).
Price moved down into this area and took the liquidity.
This is important because a liquidity sweep can provide useful information about what the market is doing around a key level.
However, the sweep by itself wasn't treated as an automatic entry.
I still wanted additional confirmation.
The chart also contained an SMT divergence around the liquidity event.
This provided another layer of confirmation.
The idea was to compare the behavior of correlated markets and look for a divergence that supported the potential reversal.
Again, SMT was used as confluence, not as a standalone signal.
After identifying the liquidity event and SMT, I focused on the relevant Order Block.
The Order Block gave me a specific area to monitor instead of entering in the middle of the move.
This is an important part of the setup because having a defined area allows the trade to have a clear invalidation point.
The short entry was taken after the setup developed around the identified area.
The important part wasn't trying to catch the exact top.
The focus was on waiting for the market to provide enough confirmation before taking the risk.
That's the difference between chasing a move and executing a setup.
The stop loss was positioned around the structure that would invalidate the short idea.
If price reclaimed the relevant area and invalidated the setup, there would no longer be a reason to stay in the position.
This keeps the trade based on market structure rather than emotion.
The downside objective was based on the liquidity available below.
With Sell-Side Liquidity already identified as an important area, the trade had a logical destination rather than an arbitrary profit target.
The biggest takeaway from this setup is that one confluence is rarely enough.
The trade became interesting because several pieces came together:
**Liquidity Sweep
SMT
Order Block
Market Context
Defined Risk
Logical Liquidity Target**
The goal isn't to predict every market move.
It's to wait until the conditions you are looking for come together and then execute the plan with controlled risk.
Want to learn how these concepts work step by step?
Visit tradesbymerc.com to access our free courses, weekday webinars, trade breakdowns, community, and trading tools.
For educational purposes only. This analysis is not a trading signal or a guarantee of profit. Trading involves risk.
Log in to like and join the discussion.
EURUSD Long Trade Analysis
Aug 18, 2026 · 2 min read
Stalking the Judas Swing in Aussie & Kiwi – The Bearish Path
Jun 8, 2026